In this guide, provided by Space Hosting, you will learn how to install Valheim Dedicated Server on Ubuntu/Debian and make yourself admin in the server using STEAMID64,
Table of contents
- Introduction
- Install and Configure Valheim Dedicated Server
- Basic Requirements
- Build Valheim Dedicated Server Using Steam
- Linux startup script and service for Valheim Dedicated Server
- How to make yourself admin?
1. Introduction
Vilhelm is an upcoming survival and sandbox video game by the Swedish developer Iron Gate Studio and published by Coffee Stain Studios. It was released in early access on 2 February 2021 for Linux and Windows via Steam and is set to be released for Xbox One and Xbox Series X/S in 2023.
The majority of the game servers can be run on Linux systems. These game servers, VALHEIM is also one of the Games whose servers can be hosted on Linux. Operating systems such as Linux are used to increase the performance and security of game servers. We can quickly install Valheim Dedicated Server using the steam repository on a Ryzen VPS or the AMD Dedicated server.
If you still don’t own any VPS, you can get a Free Trial VPS.
€ 2.99
First Month
2. Install and Configure Valheim Dedicated Server
Before starting to install and configure valheim dedicated server, you must fulfill the requirements given below i.e server, os installation and downloading software, etc.
3. Basic Requirements
- Root Server
- Fresh install Ubuntu/Debian OS
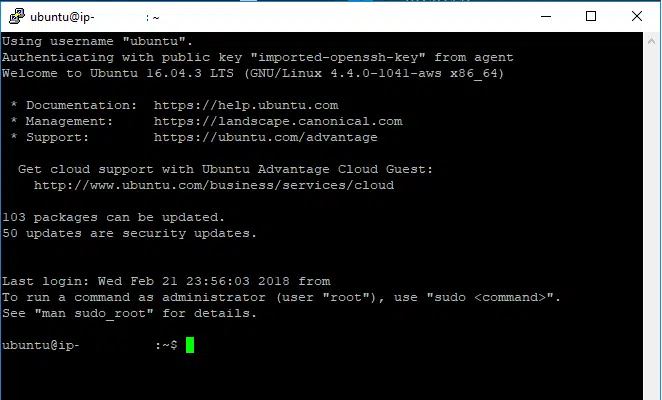
Connect to the server using Putty and type the following commands;
Make sure that the firewall (UFW, IP-Tables, CSFirewall) is not running in the system

If you still wanted to run your game server with firewall ON, then enable the following ports by typing the command
sudo ufw allow 2456/udp
sudo ufw allow 2457/udp
sudo ufw allow 2458/udp
sudo ufw allow 27060/udp
4. Build Valheim Dedicated Server Using Steam
Before starting the installation of the VALHEIM dedicated server, firstly we have to install dependencies in the operating system required for running the steam-cmd and game server. The update helps a lot in order to install the basic dependencies used by almost every software in OS.
Please type the following commands in order to update the system and install steam cmd.
sudo add-apt-repository multiversea
sudo dpkg --add-architecture i386
sudo apt update && sudo apt install lib32gcc1 steamcmd
mkdir /home/valheim
cd /home/valheim
steamcmd
The steam-CMD screen will display and now type the following commands in there
The steam-CMD is a command line version of the steam client which is used by the server administrator in order to install the steam games dedicated server.
Note: you can change the installation directory to your desired location but I prefer not to change it in order to follow the steps smoothly.
force_install_dir "/home/valheim"
login anonymous
app_update 896660 validate
exit
5. Linux startup script and service for Valheim Dedicated Server
Now create a startup script and service for Valheim Server
The startup batch script will help you to run the game server with a single command instead of typing all the commands every time. The script will check the updates of the server and then launch the server whenever the script is run.
nano start_valheim.shNow Paste the following text into that file
#!/bin/bash

export templdpath=$LD_LIBRARY_PATH
export LD_LIBRARY_PATH=./linux64:$LD_LIBRARY_PATH
export SteamAppId=892970

# Tip: Make a local copy of this script to avoid it being overwritten by steam.
# NOTE: Minimum password length is 5 characters & Password cant be in the server name.
# NOTE: You need to make sure the ports 2456-2458 is being forwarded to your server through your local router & firewall.
steamcmd +login anonymous +force_install_dir /home/valheim +app_update 896660 +quit

./valheim_server.x86_64 -name "Banana Fury" -port 2456 -nographics -batchmode -world "Dedicated" -password "hello123" -public 1 > /dev/null &
export LD_LIBRARY_PATH=$templdpath

echo "Server started"
Press CTRL + X (button) and then press Y (button) to save the file
chmod +x start_valheim.sh
nano valheim.service
Paste the following text into that file
A service is basically a program that runs in the background and auto-runs the program if the system restarts, with the help of the service you can able to start and stop the server easily.
[Unit]
Description=Valheim service
Wants=network-online.target
After=syslog.target network.target nss-lookup.target network-online.target

[Service]
Type=simple
Restart=on-failure
RestartSec=10
StartLimitInterval=60s
StartLimitBurst=3
User=steam
Group=steam
ExecStartPre=steamcmd +login anonymous +force_install_dir /home/valheim +app_update 896660 validate +exit
ExecStart=/home/valheim/start_valheim.sh
ExecReload=/bin/kill -s HUP $MAINPID
KillSignal=SIGINT
WorkingDirectory=/home/valheim
LimitNOFILE=100000

[Install]
WantedBy=multi-user.target
Press CTRL + X (button) and then press Y (button) to save the file
sudo cp valheim.service /etc/systemd/system && sudo systemctl daemon-reload
sudo systemctl start valheim
sudo systemctl enable valheim.service
6. How to make yourself admin?
To make yourself admin first get your STEAMID64, you can get STEAMID64 from steamid.net and then paste that id to adminlist.txt
To gain full access to the server as a player you must make yourself admin.
nano ~/.config/unity3d/IronGate/Valheim/adminlist.txt


0 commenti